Editing AndroidManifest.xml File
In this article we will look at something that is not that commonly done - editing of the merged manifest file.
You might wonder why would you need to do that in the first place?
If you’re working just on your simple app and do not use many 3rd party libraries you have all the control when it comes to your AndroidManifest.xml - you don’t need to edit it since it contains only your app’s components.
Situation becomes more complicated when you add a 3rd party library to your project that also contains an AndroidManifest.xml - as part of the build Gradle will merge your manifest with the one from the library.
Now you end up with some dodgy permissions & services in your manifest file - this is exactly the reason you might want to edit the merged manifest file, to get rid of those nasty things.
Viewing Merged Manifest
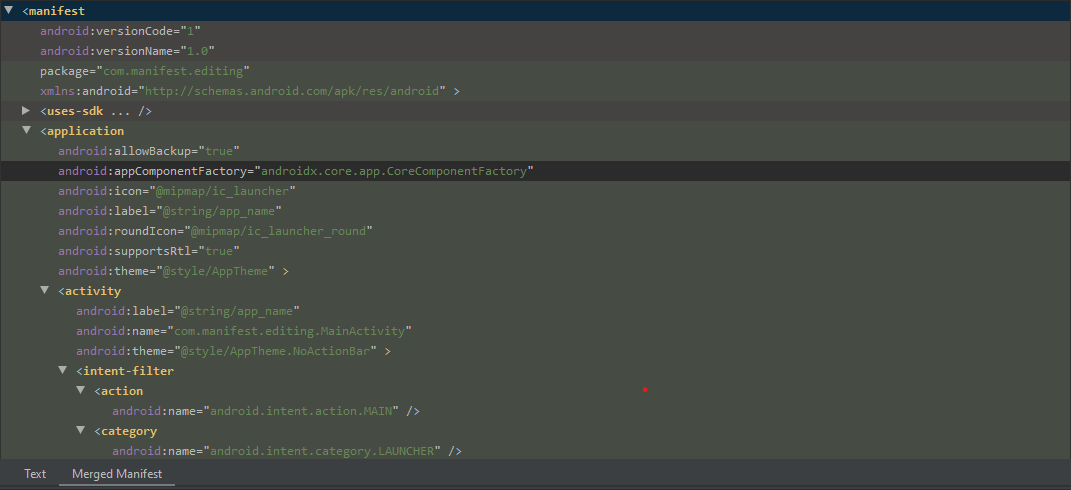
Before going into editing of the merged manifest you might want to have a look at it.
After all if it doesn’t contain anything suspicious maybe there is no reason to edit it?
You have two options here:
- Android Studio - if you open your
AndroidManifest.xmlfile on the bottom you can find two tabs - Text & Merged Manifest, clicking on the Merged Manifest option should bring you to a window where you can see your manifest
- file in build directory - as part of every build merged manifest is generated and saved in
$projectDir/app/build/intermediates/merged_manifests/$flavor/AndroidManifest.xml
Editing Merged Manifest
Now that we know how to find it, we can finally start editing our merged manifest!
For the purpose of this article we will do something very simple - we’ll replace the application name with our custom name, in my case it will be Broccoli
In order to do that we will create a groovy script inside app/build.gradle file.
android.applicationVariants.all { variant ->
    variant.outputs.each { output ->
        def processManifest = output.getProcessManifestProvider().get()
        processManifest.doLast { task ->
            def outputDir = task.getManifestOutputDirectory()
            File outputDirectory
            if (outputDir instanceof File) {
                outputDirectory = outputDir
            } else {
                outputDirectory = outputDir.get().asFile
            }
            File manifestOutFile = file("$outputDirectory/AndroidManifest.xml")

            if (manifestOutFile.exists() && manifestOutFile.canRead() && manifestOutFile.canWrite()) {
                def newManifest = manifestOutFile.getText().replace("@string/app_name", "Broccoli")
                manifestOutFile.write(newManifest, 'UTF-8')
            }
        }
    }
}
The code is not obvious so you deserve some explanation here
processManifestis a step during Gradle build that generates the manifest file -doLasttells Gradle that we want to execute the code inside the block immediately after the step finishes- after
processManifestfinishes merged manifest directory path is fetched viagetManifestOutputDirectory - the manifest is loaded into
manifestOutFile - after we make sure that it exists and everything is okay we replace
@string/app_namewithBroccoliand save the file
That’s basically it, if you run the application now you will see that its name is Broccoli.
This is a very simple example I know, however with this groovy script you can do whatever you want with AndroidManifest.xml file.
If you’re planning to do some heavy editing I encourage you to use Groovy XmlParser instead of working with simple text, it should be more suited for that purpose.
In this article we have looked at how we can edit AndroidManifest.xml file as part of the build.